Curing Gel Nails Properly: Lamp, Time, and Common Mistakes
Curing gel nails properly means matching the lamp to the gel, respecting the full cure time, and applying thin layers. A short cure weakens wear and raises allergy risk.

Summary: Curing gel nails properly means matching the lamp to the gel, respecting the full cure time, and keeping layers thin. A short or mismatched cure weakens wear and raises allergy risk. So cure with care every time.
Curing gel nails properly is the step that decides whether a set lasts or fails. I watch techs rush it every time the schedule gets tight. However, a short or mismatched cure leaves soft product inside a hard shell. So the set feels done but breaks within days. Hardening gel fully is not optional. It is the difference between weeks of wear and a callback.
The cure also protects health, and that is the part I never let a student skip. An under-cured layer leaves uncured product against the skin. Because of that, a short cure raises allergy risk at the same time it weakens the set. So a full cure is both a durability step and a safety step.
Curing Gel Nails Properly Starts With the Right Lamp
Curing gel nails properly starts with matching the lamp to the gel. Gels use specific photoinitiators. Therefore, a lamp must emit the wavelength that activates them. A mismatched lamp under-cures the product, no matter how long you run it.
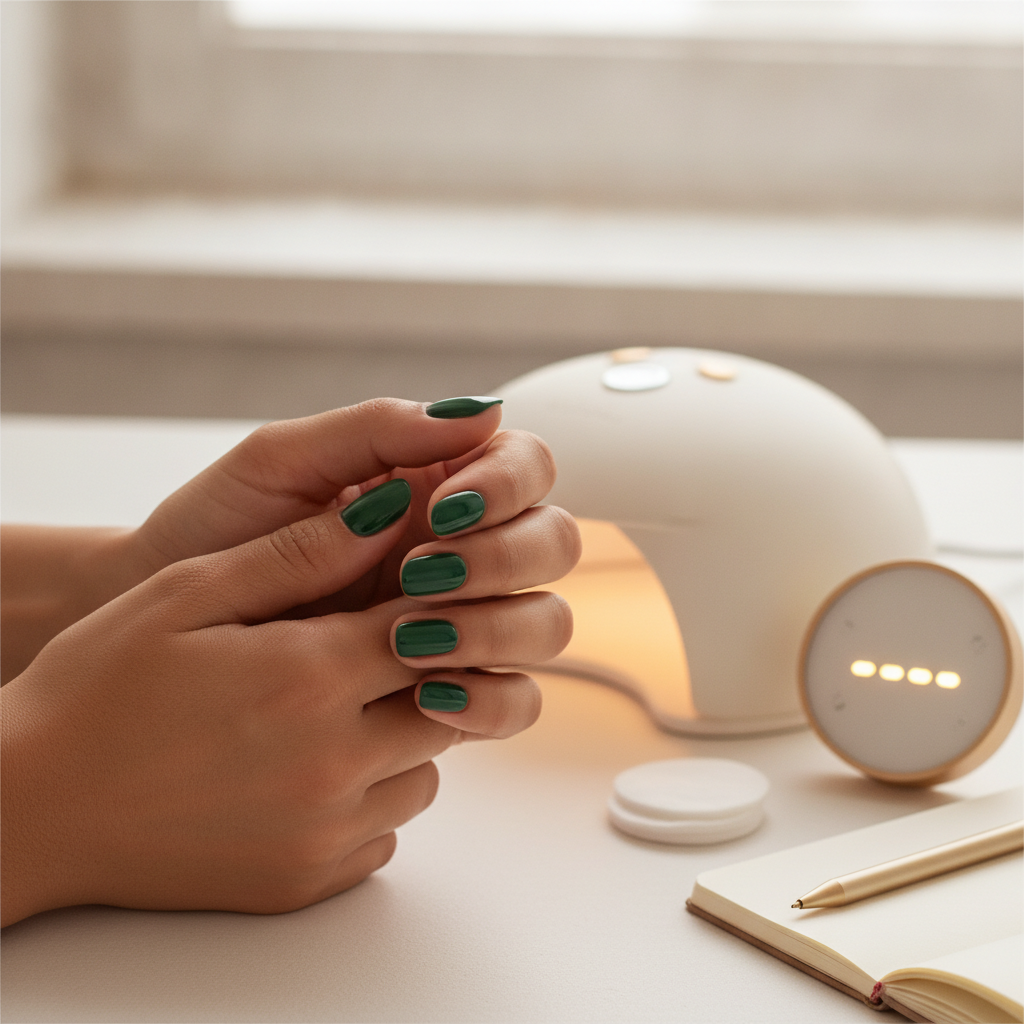
A flash-cure LED lamp built for your gel range takes out the guesswork. Here is what I want you to check.
- Matched wavelength. The lamp should be tuned to your gel's photoinitiators.
- Preset timers. A lamp with 30-second and 60-second presets keeps each cure consistent.
- Even coverage. A design that lights every nail fully avoids soft edges.
When the lamp fits the gel, hardening is complete and repeatable. So the set holds.
Respect the Cure Time
Time matters as much as the lamp. Rushing the cure is one of the most common gel mistakes I correct. So follow the timer for each layer, every time.
- Cure every layer. Base, builder, and color each need a full cure. Skipping one leaves a soft layer underneath.
- Do not rush the flash cure. A quick flash sets the surface but not the core. Then the set feels hard yet fails early.
- Cure the top coat fully. The final cure seals wear and shine. A short top-coat cure dulls and peels.
A full cure at every stage is what turns a good product into a lasting set. Do not push through the timer to save a minute.
Keep Layers Thin
Thick layers do not cure through. So the top hardens while the core stays soft. That trapped soft product is where breakage and reactions begin.
- Build in thin layers. Several thin coats cure fully. One thick coat does not.
- Cure between layers. Each thin layer gets its own cure before the next.
- Watch the apex. A thick apex needs proper structure and a full cure, not a rushed one.
Thin and fully cured beats thick and half-set every time. I say that in every class, and I mean it.
Common Gel Curing Mistakes
Most cure failures come from a short list of habits. Fix these, and your wear improves fast.
- Using the wrong lamp. A lamp that does not match the gel under-cures it. This is the top mistake.
- Mixing brands. A gel from one brand may not cure under a lamp tuned for another. So retention drops.
- Skipping timer discipline. Guessing the cure time leaves layers soft. Use the presets.
- Flooding the skin. Product on the cuticle cannot cure right and raises reaction risk.
Read these against your own bench, honestly. If your sets fail early, the cure is often the cause.
Curing in a Warm, Humid Climate
Heat and humidity change how gel behaves before it cures. Sticky, warm air can make application feel rushed. So placement suffers, and a rushed layer cures unevenly. Because of this, a slower-evaporation approach and steady, thin layers help you keep control on warm days. This is where products and habits built for the tropics earn their place.
A Full Cure Is Also a Safety Step
Safer and stronger move together. A HEMA-free, TPO-free gel option protects sensitive clients, and it still needs a full cure to perform. Under-curing leaves reactive product against the skin. So the same care that hardens the set also lowers reaction risk. Cure fully, keep product off the skin, and you protect both wear and health.
A proper cure is simple to get right once you build the habit. Match the lamp, respect the time, keep layers thin. Then your gel sets hold for weeks, your clients rebook, and they bring friends.
Frequently asked questions
Why do my gel nails stay tacky or peel after curing?
Usually the lamp does not match the gel, or the layer was too thick. So the core stays soft. Match the lamp to your gel range, build thin layers, and cure each one fully.
Can I use any LED lamp with any gel?
Not reliably. Gels use specific photoinitiators, so a lamp must emit the matching wavelength. A flash-cure LED lamp tuned to your gel range cures it fully.
How long should I cure each gel layer?
Follow the product's cure time using your lamp's presets, commonly 30 or 60 seconds per layer. Do not guess. A short cure leaves soft product and weak wear.
Does under-curing raise allergy risk?
Yes. An under-cured layer leaves uncured product against the skin, which raises sensitivity risk. A full cure protects both wear and health.
Why do thin layers cure better than thick ones?
Light cannot reach through a thick layer, so the core stays soft. Several thin, fully cured layers give strength that one thick coat cannot.
LNC Professional supplies complete, safe-chemistry systems and matched LED lamps for professional nail technicians. Designed in the Caribbean, built for the world. See the range at lncpronails.com.
Have a question about a system, or want the safety data sheet for a specific product? Message us on WhatsApp at +1 (562) 548-7272. We answer.
Related reading
- Nail Lifting: How to Stop It at the Root
- Gel Nail Allergy: Causes, Signs, and How to Prevent It
- HEMA-Free Gel: The Safer Choice for Sensitive Clients
Authoritative sources
- Nail Care Products. US Food and Drug Administration.
- TPO in Nail Products: Questions and Answers. European Commission.