Strength Lives in the Apex
A set breaks at the stress area, not the tip. Place the apex about one third back from the free edge, thin the cuticle area and the edge, cap the free edge...

Summary: A set breaks at the stress area, not the tip. Place the apex about one third back from the free edge, thin the cuticle area and the edge, cap the free edge, and judge the build from the side profile rather than the top view.
The strength of an enhancement lives in the apex, which sits well behind the free edge. A set almost never breaks where the client expects it to. It breaks at the stress point, in the zone most techs underbuild because it does not show from the top.
So if you want fewer callbacks and fewer snapped enhancements, stop judging your work from directly overhead and start reading the side profile. That single change of habit fixes more broken sets than any product switch I have ever recommended.
Where a Set Actually Fails
Think about the mechanics for a moment. When your client pulls a zipper, opens a can, or pushes off a countertop, the load travels down the enhancement and concentrates at the point of greatest flex. On a natural nail that is the stress area, roughly where the nail leaves the free edge of the nail bed. On an enhancement, that same spot is your apex, the highest point of your structure.
A flat build spreads product thin across that zone and piles length at the tip, where it does nothing structural. So the nail becomes a lever. Every bit of pressure at the free edge multiplies against a thin apex, and thin material under repeated load does one thing. It cracks, then it lifts, then it breaks.
The tip was never the weak point. The apex was.
Building the Strength Zone on Purpose
Whether you work an acrylic system, a hard gel, a builder gel, or polygel, the principle is identical. You are placing your greatest mass of product at the point of greatest stress, not distributing it evenly for a tidy top view.
- Place the apex deliberately. On most hands it lives around one third of the way back from the free edge, over the natural stress area. Set your bead or ball there first and let the product settle into that high point before you thin toward the cuticle and the edge.
- Thin your extremes. The cuticle area should taper to almost nothing for a clean, non-lifting seam. The free edge should be thin enough to look refined but never so thin it becomes a hinge. Your material budget goes to the middle.
- Cap the free edge. Run structure over and slightly under the edge so it is sealed, not exposed. An open free edge invites chipping and moisture ingress on any system.
- Let your medium do the work. With a slower-set acrylic system on a well-balanced monomer to polymer ratio, gravity helps the apex find its place. With gel, control it with your brush and check flow before you cure, because once you cure a flat build you have cured in the weakness.
The Side-Profile Check
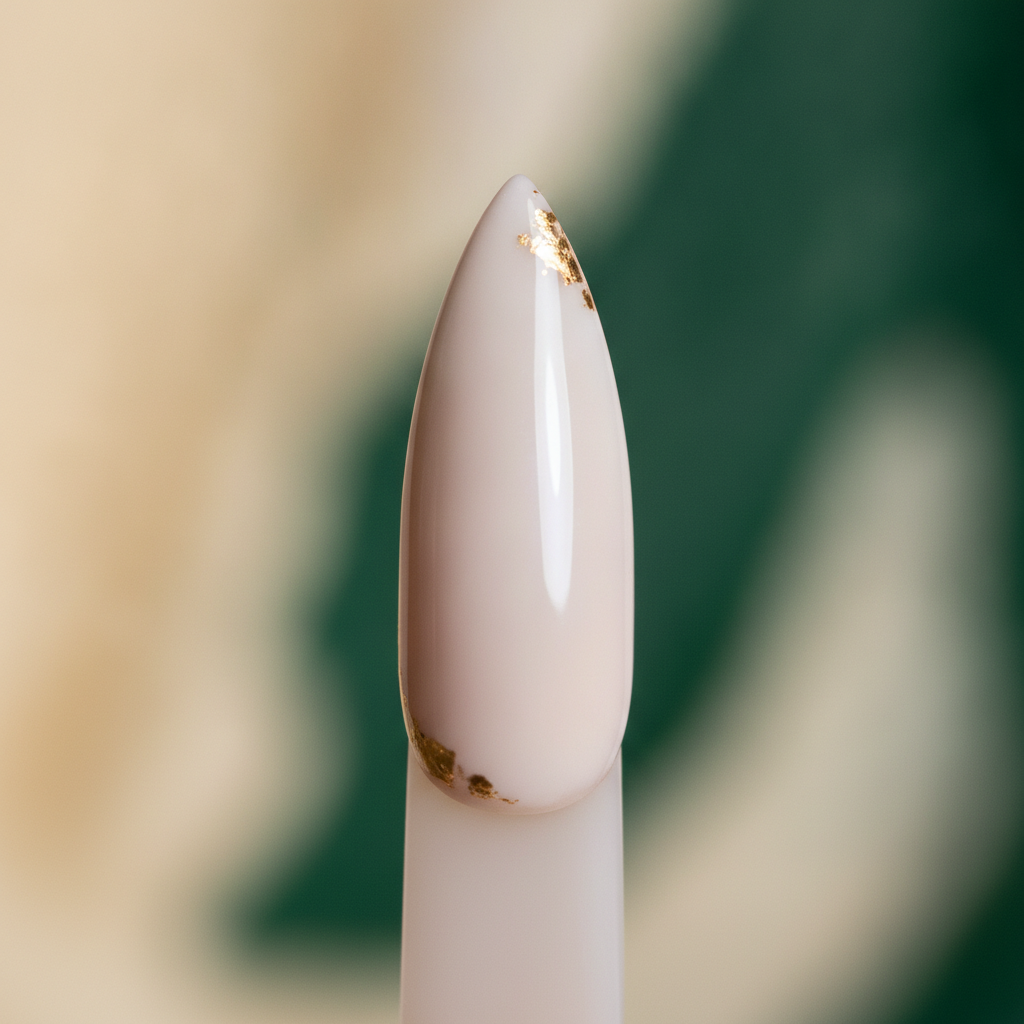
This is the habit that changes results, and it is the one I ask every student to build first. Before you refine, bring the nail to eye level and look at it from the side. You want a gentle dome that peaks at the apex and slopes cleanly to a thin edge, like the arch of a bridge.
If the profile looks flat, or if the high point sits too close to the tip, your strength is in the wrong place no matter how pretty the top view is.
From above, two nails can look identical. From the side, one is engineered to carry load and the other is waiting to snap. So train your eye to trust the profile over the plan view, and file only after you have confirmed the apex is where the stress is.
Common Apex Mistakes
I see the same three at the table, over and over.
- The apex too far forward. A high point near the tip makes the whole nail feel top-heavy and leaves the stress area starved.
- Filing away your structure. A beautiful apex built at application, then flattened during refinement, is a set with no backbone. Refine the shape, protect the height.
- Reading only the C-curve. A strong C-curve helps, but it cannot rescue a flat lengthwise profile. You need both curves working together.
Structure Is a Decision, Not a Finishing Step
Structure is not decoration you add at the end. It is the decision you make with your first bead or your first bead of gel, and it is the difference between a set that survives real life and one that comes back to your table in a week.
Build the apex where the nail flexes, cap the free edge, and let the side profile be your final word.
Frequently asked questions
Where should the apex sit on a nail enhancement?
On most hands the apex lives around one third of the way back from the free edge, over the natural stress area. Set your bead or ball there first and let the product settle into that high point before you thin toward the cuticle and the edge.
Why do my enhancements break even though the tip looks strong?
Because a set breaks at the stress area, not the tip. A flat build spreads product thin across that zone and piles length at the tip, where it does nothing structural. The nail becomes a lever, and thin material under repeated load cracks, then lifts, then breaks.
How do I check whether my apex is in the right place?
Bring the nail to eye level before you refine and look at it from the side. You want a gentle dome that peaks at the apex and slopes cleanly to a thin edge, like the arch of a bridge. If the profile is flat, or the high point sits too close to the tip, the strength is in the wrong place.
Does a good C-curve make up for a flat apex?
No. A strong C-curve helps, but it cannot rescue a flat lengthwise profile. You need both curves working together, so read the side profile as well as the C-curve.
Can I file the apex during refinement?
Refine the shape, but protect the height. A beautiful apex built at application and then flattened during refinement leaves a set with no backbone. File only after you have confirmed the apex is where the stress is.
LNC Professional supplies complete, safe-chemistry systems for professional nail technicians. Designed in the Caribbean, built for the world. See the range at lncpronails.com.
Have a question about a system, or want the safety data sheet for a specific product? Message us on WhatsApp at +1 (562) 548-7272. We answer.
Related reading
- Acrylic Nails Keep Breaking? The Real Cause and the Fix
- Long-Lasting Nail Sets: How to Make Them Last 4 Weeks
- Acrylic vs Gel vs Dip vs Poly: Which System to Use
Authoritative sources
- Nail Care Products. US Food and Drug Administration.
- Manicurists and Nail Technicians: workplace exposures. NIOSH, US Centers for Disease Control and Prevention.